Glow & Fog Post-Process FX
In Unity's (now deprecated) deferred rendering pipeline
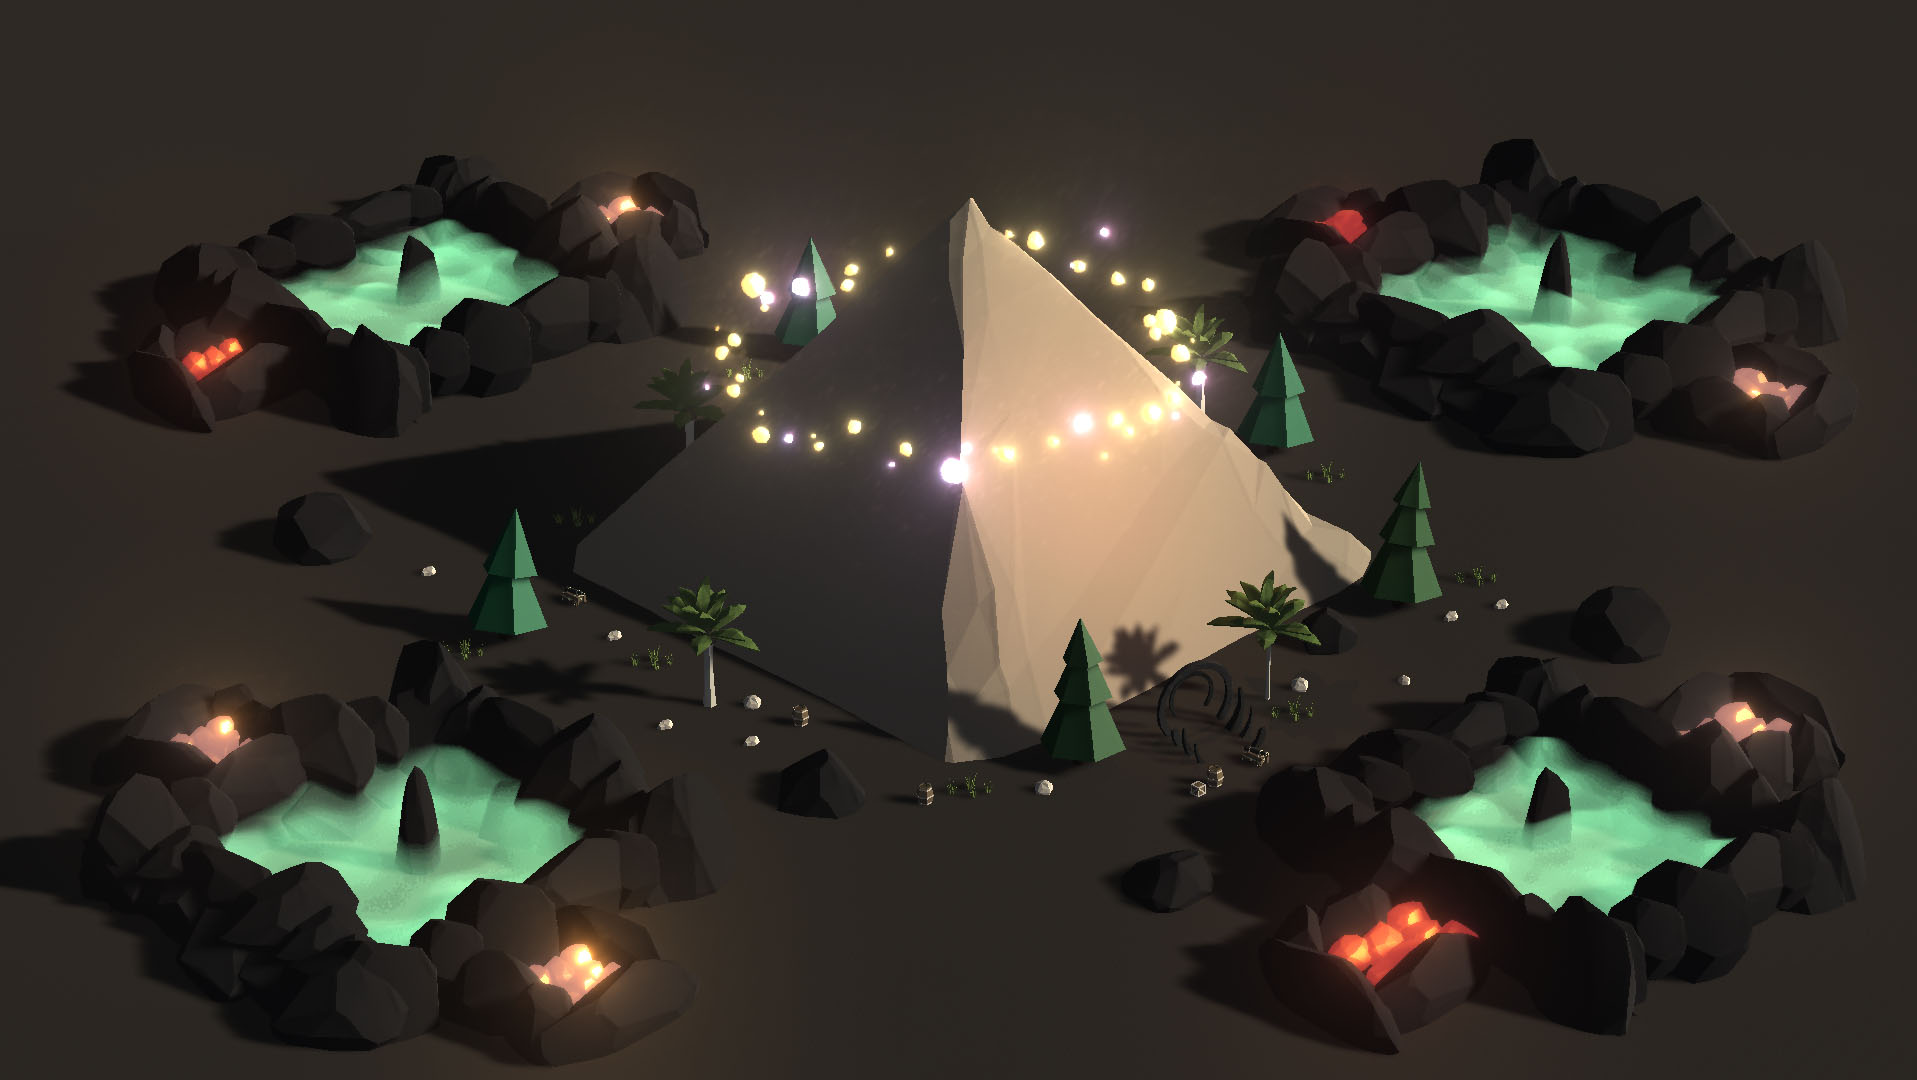
During the development of Black the Fall, back in 2016, I was given an interesting challenge : to create a glow post-process effect that only affects certain objects on the screen - like a specific light or object that's important for gameplay or atmosphere - leaving everything else unaffected by the effect.
As any professional developer, I turned to Google and, at least at that time, I could only find effects that either apply to the whole screen, which blurs everything, or hacks into custom rendering pipelines, which Unity didn't support. The solution came from a forum post that didn't relate at first - Unity's GBuffers, which are the images that a deferred rendering pipeline render into and use at the end to create the full image on screen, had an overlooked aspect : a free alpha channel with only a few bits that were not used.
These few unused bits that were just sitting there could be accessed from the camera's post-process chain of shaders and could be used as a mask for any effects. I only had to create a custom script & shader for the objects that need to glow, write into that unused channel an id for the respective object, and use that information in the glow effect to detect which pixels on the screen need to actually glow! The cool thing is that the mask creation didn't require any extra rendering steps.
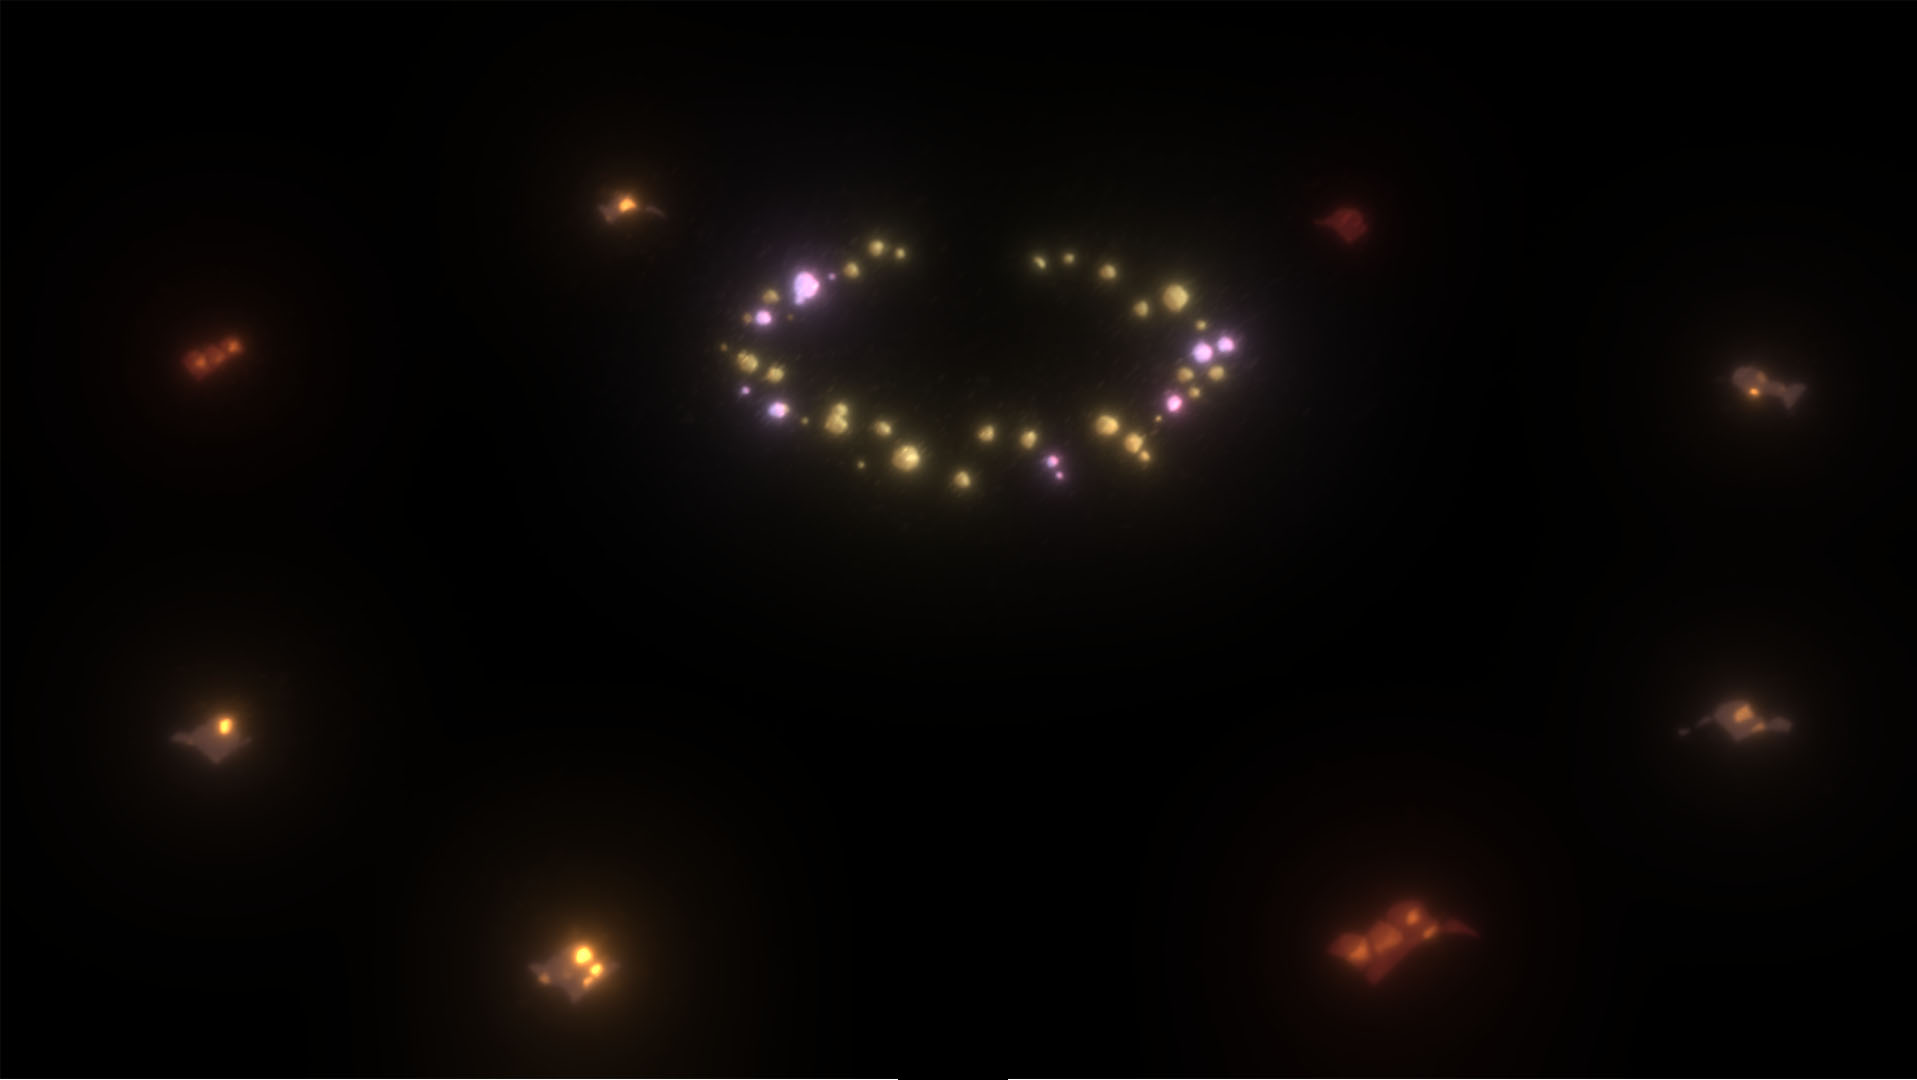
The glow effect applied only to the lit stones, with a lens dirt texture on top
Volumetric Fog
The glowing effect achievement couldn't just stop there. I had to see how far I could push the post-process chain of Unity. How about volumetric fog, that you can see through, walk through, and that animates pretty waves of clouds?
Turns out this was a bit more complicated, but not by far. Here's a step-by-step summary:
1) Create a cube with a custom shader that does ray-tracing for each pixel, through the cube. To simplify things, let's assume
that the cube cannot be rotated or scaled, but its dimensions can be changed during editing.
2) The ray-tracing part uses the depth map to see if there's anything inside or in front of the cube. This is useful to know if
we're actually going to render a fog colour to that pixel, and, if so, how foggy it is - if the fog is deep, it will cover everything behind it.
3) Pro tip: To avoid calculating this for every pixel, do some random dithering (only choose random pixels, see blue noise patterns) and hide the noise
with a temporal anti-aliasing post-process effect! The people from Playhead, who worked on the Inside game, have some cool TAA effects made public!
4) Finally, play around with some Perlin Noise in the ray-tracing loop to create wavy, animated patterns aaand, there you have it!
The fog effect only
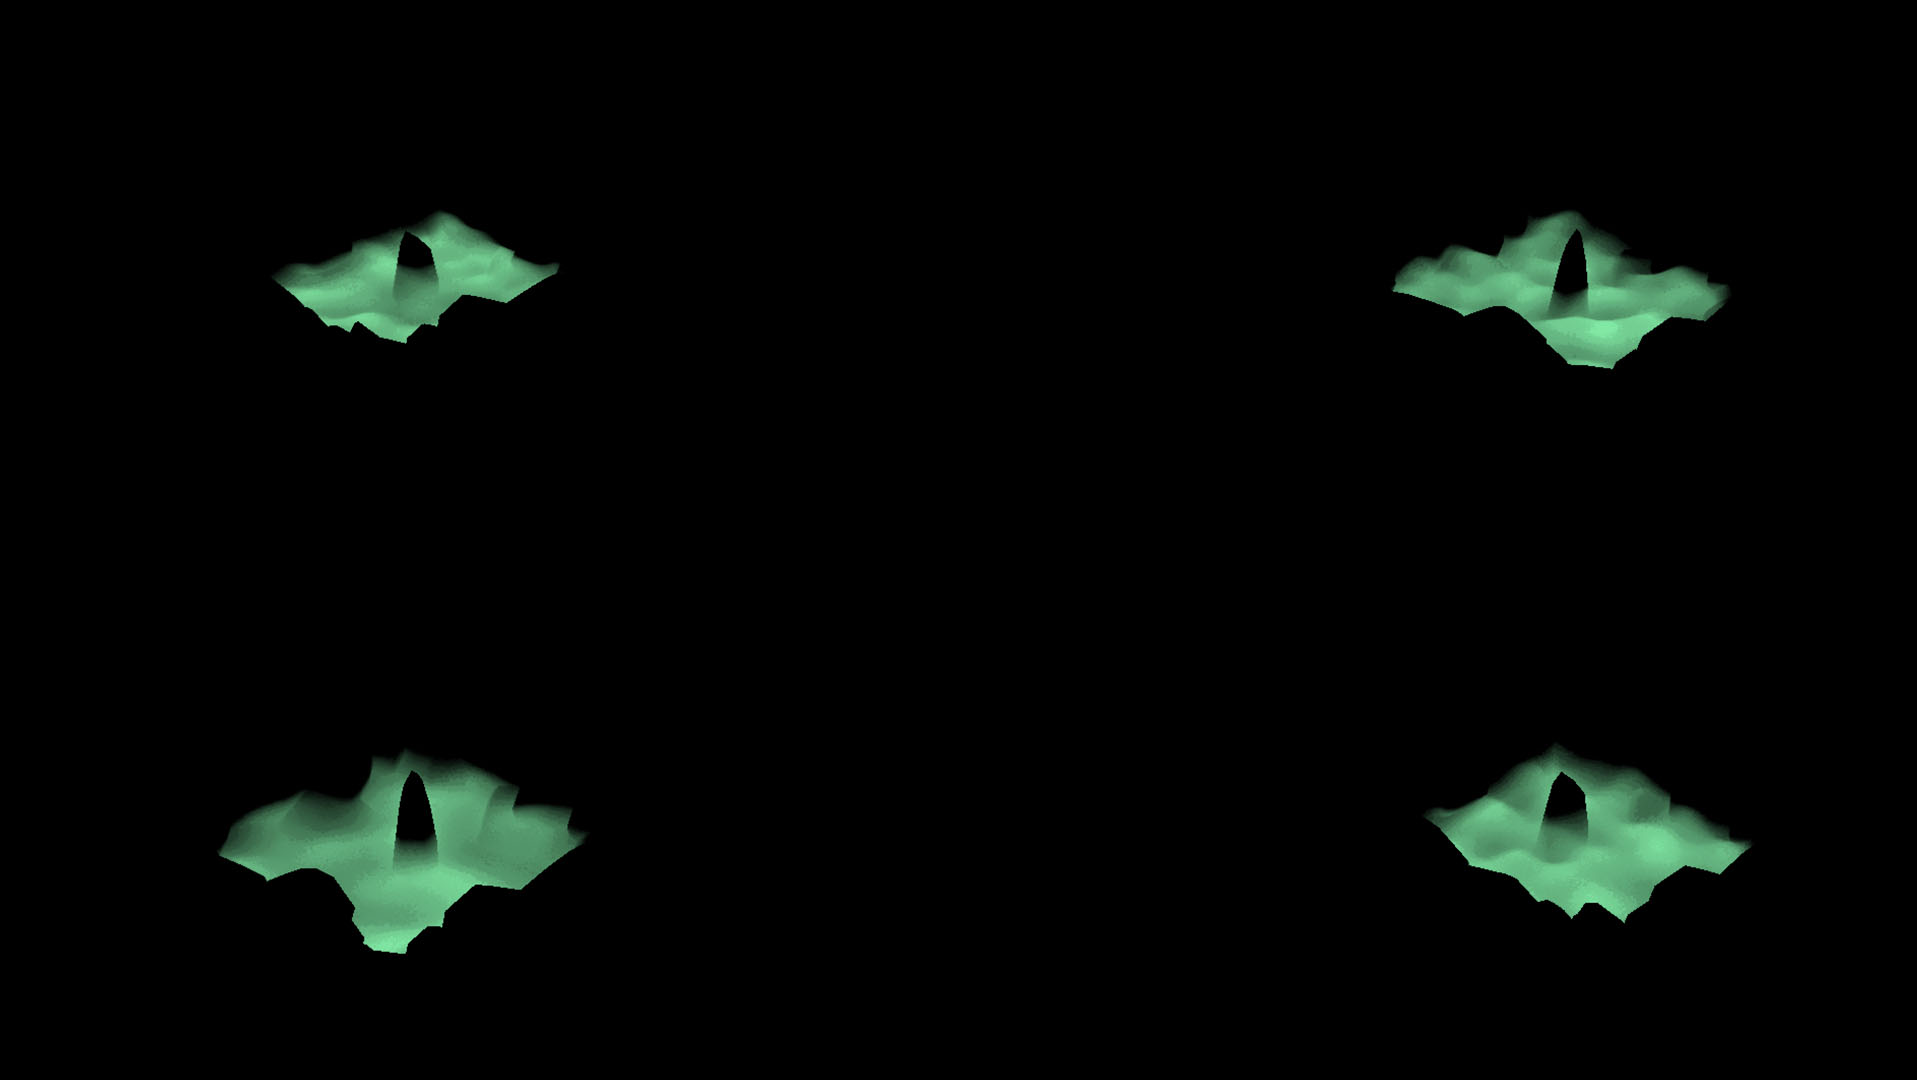
So in conclusion ...
Even the tiniest unused bit of information could be used to create interesting solutions for an art direction that keeps asking for more. And, of course, rendering and post-processing effects are fun to do when you get to sit back at the end and admire the results.